-
Xinqi Development Zone, Leliu, Foshan, Guangdong
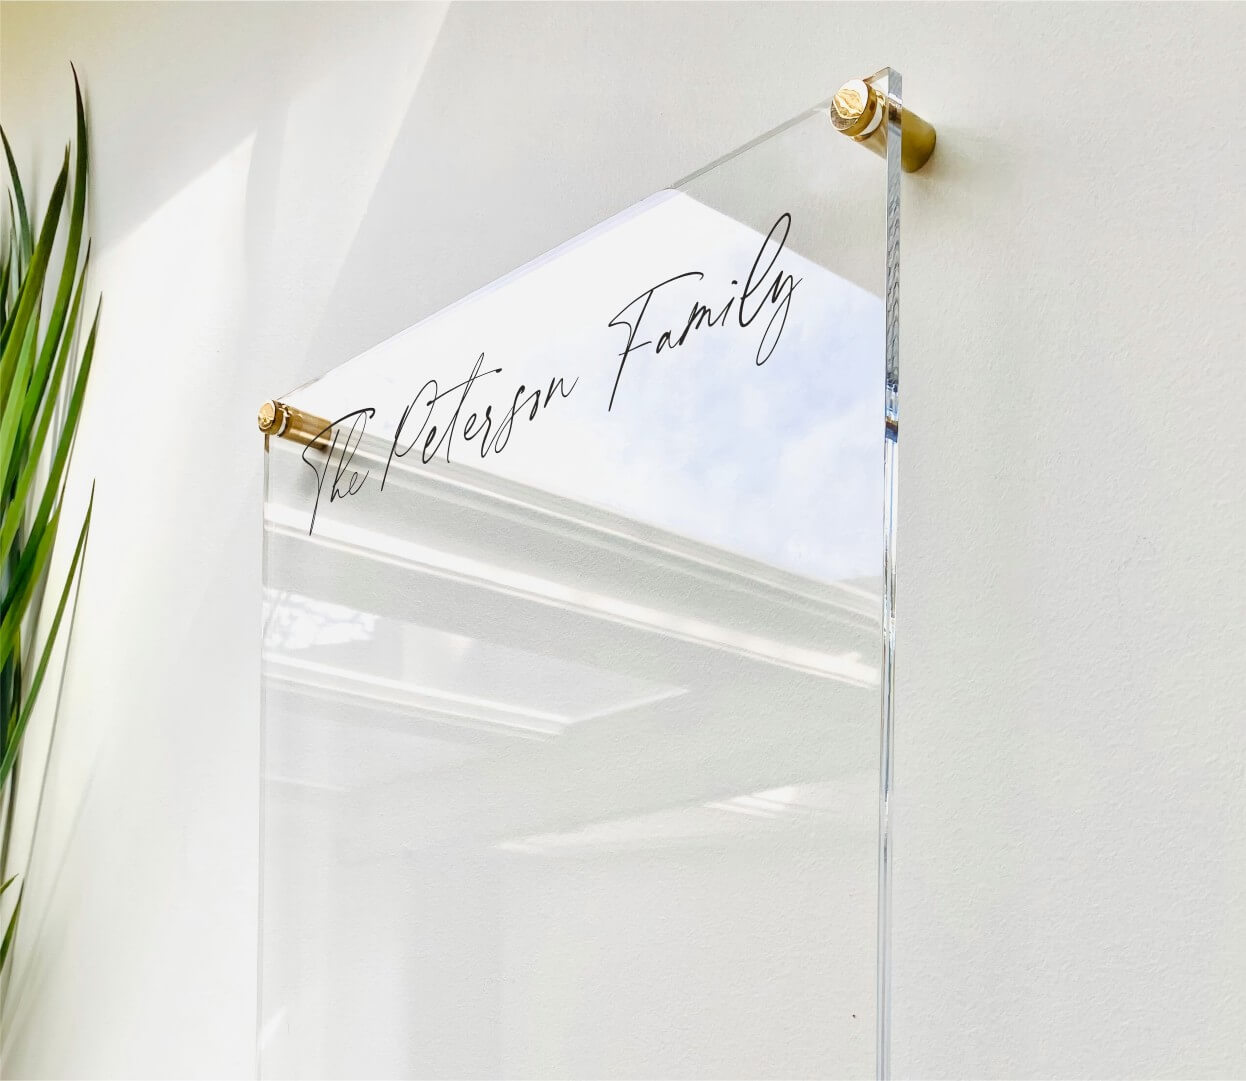
How to Stick Acrylic Board to the Wall?
Table of Contents
The Problem: Acrylic Board Wall Mounting Challenges
You want to put up an acrylic board. But it is hard to do it right. Many people make big mistakes when they try to stick acrylic boards to walls.
Did you know that 85% of users crack their acrylic when drilling without pilot holes? This can ruin your nice board!
And if you pick the wrong way to stick it up, your board can fall down. That can break the board and hurt someone.
The Problem Gets Worse
Think about what happens when your acrylic board falls down:
- Your nice board breaks
- It might hurt someone
- You waste money
- You have to start over
Poorly installed mechanical anchors fail in 20% of DIY cases because people tighten screws too much.
And did you know that dirty surfaces make adhesives 50% less strong? Your board might stay up for a few days, then crash down!
The Solution: Professional Acrylic Board Installation Methods
Good news! As a leading acrylic sheet manufacturer, we know the best ways to stick acrylic boards to walls. We make high-quality acrylic that stays strong and clear for years.
Let’s look at the 3 best ways to put up your acrylic board:
1. Using Adhesive Tapes (Fast & Easy)
Double-sided foam tape is a top pick for light boards. It’s quick and won’t hurt your wall.
How to do it:
- Clean both surfaces with alcohol
- Cut tape strips to fit your board
- Press firmly for 30+ seconds
- Mount your board on the wall
This method is 3x faster than using screws and works great for most home uses.[^4]
2. Using Screws & Anchors (Most Secure)
For big, heavy clear acrylic sheets, mechanical fastening is best.
How to do it:
- Mark the spots for holes with a pencil
- Use a drill with the right size bit
- Make pilot holes first – this stops cracks!
- Put in wall anchors
- Screw in gently – don’t tighten too much!
Screws keep your board safe for 10+ years when done right.
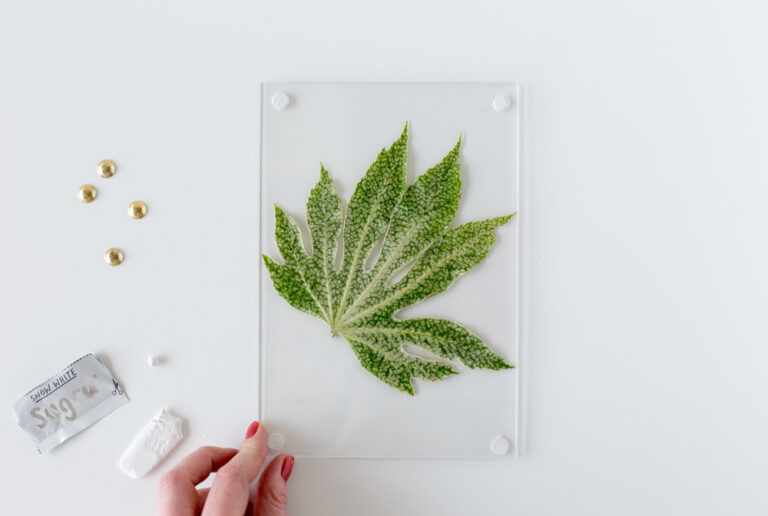
3. Using Special Acrylic Glue (For Custom Fits)
If you need a clean look with no visible hardware, acrylic glue might work for you.
How to do it:
- Sand the edge a little bit
- Apply the glue in small amounts
- Hold in place until it sets
- Let it dry for 24 hours
What Method Works Best?
Here’s a simple guide to help you pick:
| Board Size | Best Method | How Long It Lasts | Cost |
|---|---|---|---|
| Small (under 2 feet) | Tape | 2-5 years | Lowest ($0.50/sq ft) |
| Medium (2-4 feet) | Tape or Screws | 5-10+ years | Medium ($1-2.50/sq ft) |
| Large (over 4 feet) | Screws | 10+ years | Highest ($2.50/sq ft) |
| Very heavy | Screws only | 10+ years | Highest |
Tools You Need
For tape method:
- Cleaning alcohol
- Cloth
- Measuring tape
- Scissors
- Level
For screw method:
- Drill
- Drill bits
- Screws
- Wall anchors
- Level
- Pencil
Step-By-Step Guide: Putting Up Your Acrylic Board With Tape
Let’s go through the steps for the most common method:
1. Get Ready
- Clean your wall with soap and water
- Let it dry all the way
- Clean your acrylic with alcohol
- Measure where you want the board
2. Put On The Tape
- Cut strips of strong tape
- Put tape on the back of your board
- Do not touch the sticky part
- Space the tape all around the edges and middle
3. Stick It Up
- Get a friend to help hold the board
- Line it up with your marks
- Press firmly against the wall
- Hold for 30 seconds
- Check with a level to make sure it’s straight
That’s it! Your board is up!
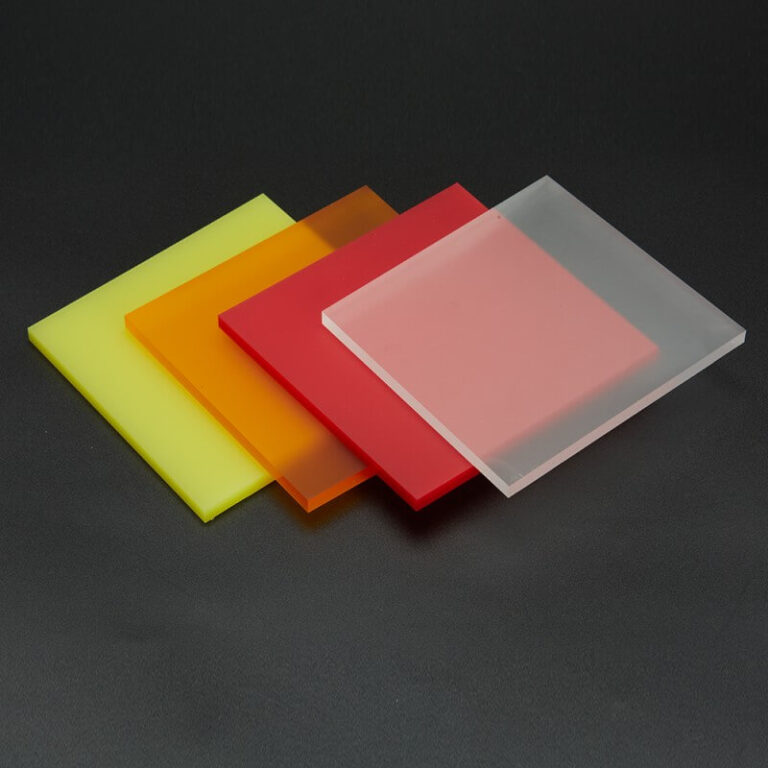
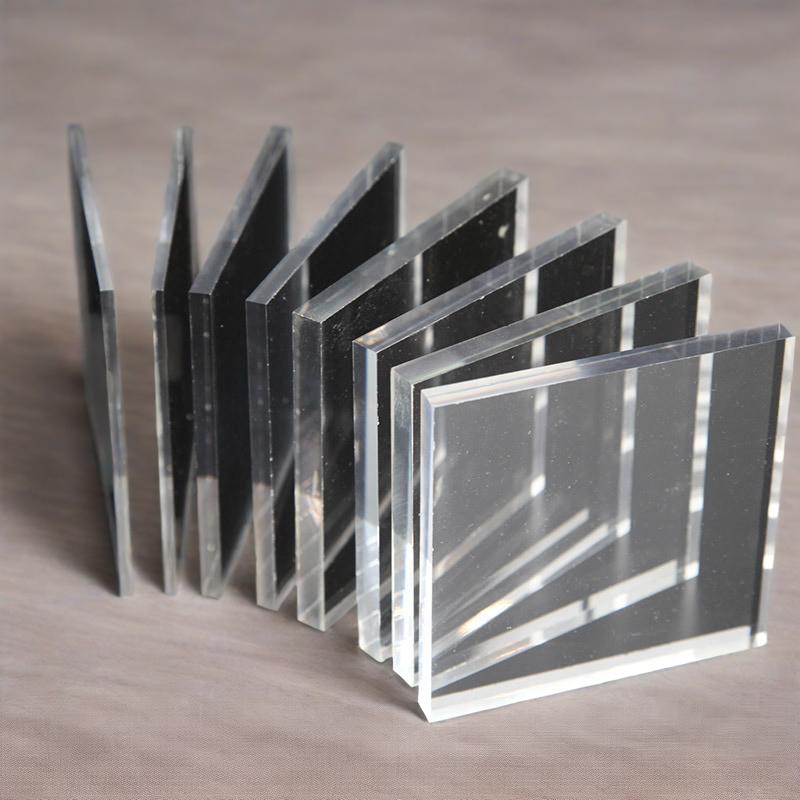
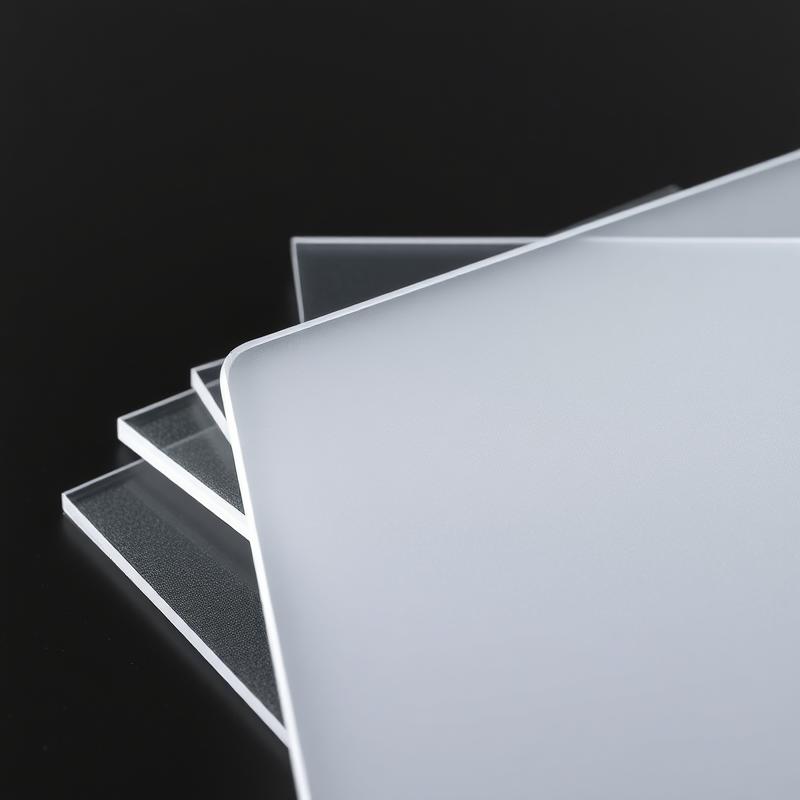
Why Our Acrylic Boards Are Best
As a top acrylic sheet supplier, we make boards that:
- Stay clear and don’t yellow
- Are strong and hard to break
- Come in many sizes and colors
- Look better than glass
- Cost less than other brands
- Ship fast to you
Our textured acrylic sheets are perfect for signs, art, and office boards.
Tips To Keep Your Board Looking Good
- Clean with a soft cloth – no rough stuff!
- Use special acrylic cleaner if you can
- Don’t put in direct sun if using tape
- Check screws once a year to make sure they’re tight
- Clean dust off often
Common Problems And How To Fix Them
Problem: Board Falls Down
Fix: Clean both surfaces better and use more tape or switch to screws.
Problem: Acrylic Cracks When Drilling
Fix: Always drill pilot holes first and go slow.
Problem: Can’t Get Tape Off Wall Later
Fix: Use a hair dryer to warm the tape, then pull slowly.
Problem: Bubbles Under The Tape
Fix: Press out from the middle to the edges when first sticking up.
Why Choose Our Acrylic?
- We make it ourselves in our factory
- We test every sheet to make sure it’s perfect
- We ship fast to get it to you quick
- We have all sizes from small to very big
- We help you with tips and guides
Our acrylic sheet factory has been making top quality acrylic for over 26 years.
Ready To Get Your Acrylic Board?
Now you know how to stick acrylic board to the wall the right way! No more falling boards or cracked acrylic.
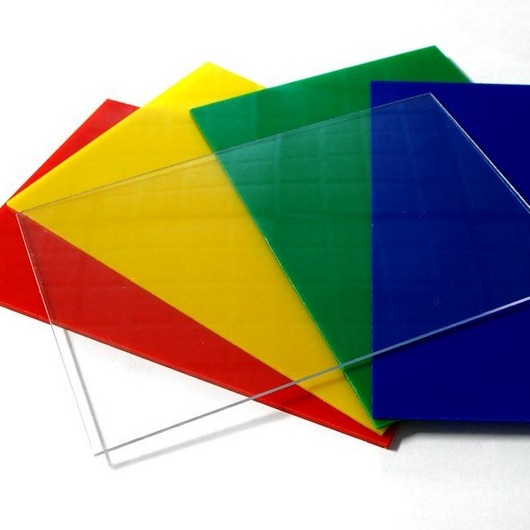
We make acrylic boards in:
- Clear
- Black
- White
- Blue
- Red
- Green
- Custom colors
And in any size you need!
Pick the right method for your board:
- Tape for small, light boards
- Screws for big, heavy boards
- Glue for special uses
With our tips, your acrylic board will stay up for years and look great the whole time.
Visit our website to see all our acrylic sheets or call us to ask about the best way to put up your special board.