-
Xinqi Development Zone, Leliu, Foshan, Guangdong
Acrylic Adhesive Mastery: Avoid Cracks & Bubbles Easily
Zusammenfassung:
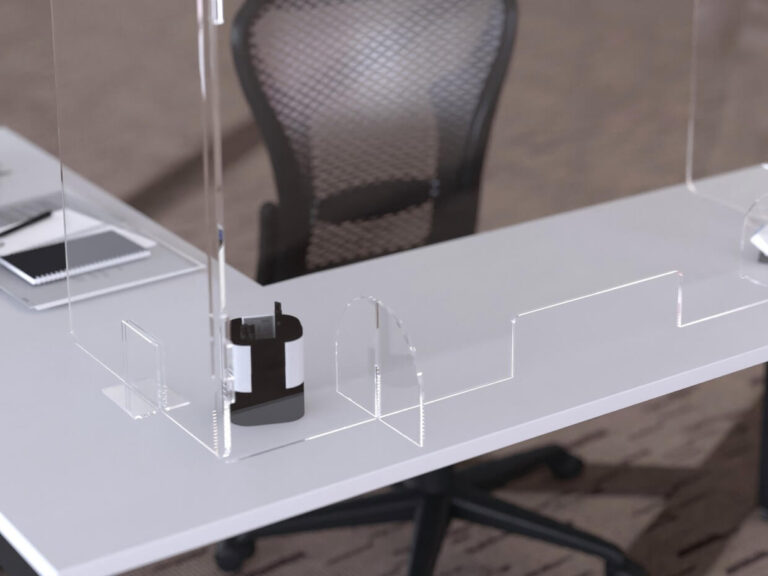
Acrylglasplatten, due to their high transparency, strength, and ease of processing, have become a popular material in modern design and industrial manufacturing. However, improper bonding can easily lead to insufficient strength, bubbles, or cracking. This article provides a scientific, systematic bonding solution covering six core steps: safety protection, sheet material inspection, glue selection, precision glue application, curing control, and post-processing. Integrating authoritative data and operating procedures, this guide helps you achieve professional-quality, secure, seamless bonds, significantly improving project yield and aesthetics.
—
1. Safety First: Protection and Ventilation Are the Foundation for Success
Bonding acrylic is more than just applying glue. Volatile organic compounds (VOCs) released by solvent-based glues are a primary concern. The U.S. Occupational Safety and Health Administration (OSHA) emphasizes that exposure to high concentrations of VOCs can cause respiratory irritation and even neurological damage.
- Forced Ventilation: The operating area must maintain an air circulation rate of ≥10 times/hour, or be equipped with local exhaust ventilation (such as a laboratory fume hood).
- Persönlicher Schutz: Nitrile gloves (solvent-resistant) + ANSI-certified goggles + a respirator (with an organic vapor filter) are standard equipment.
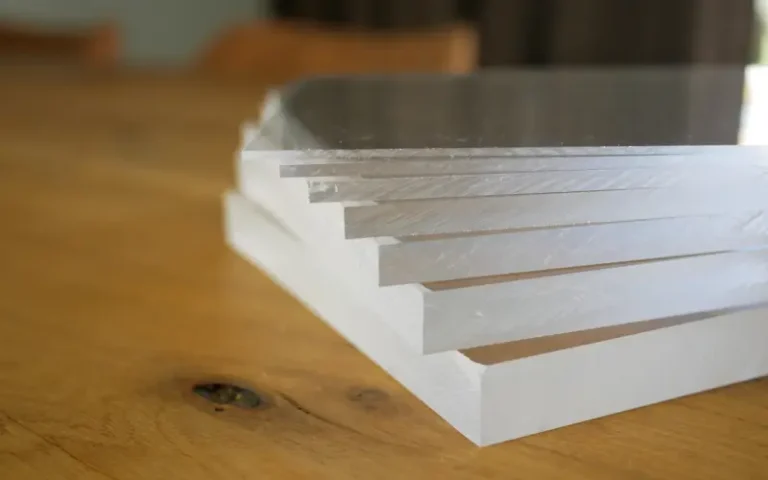
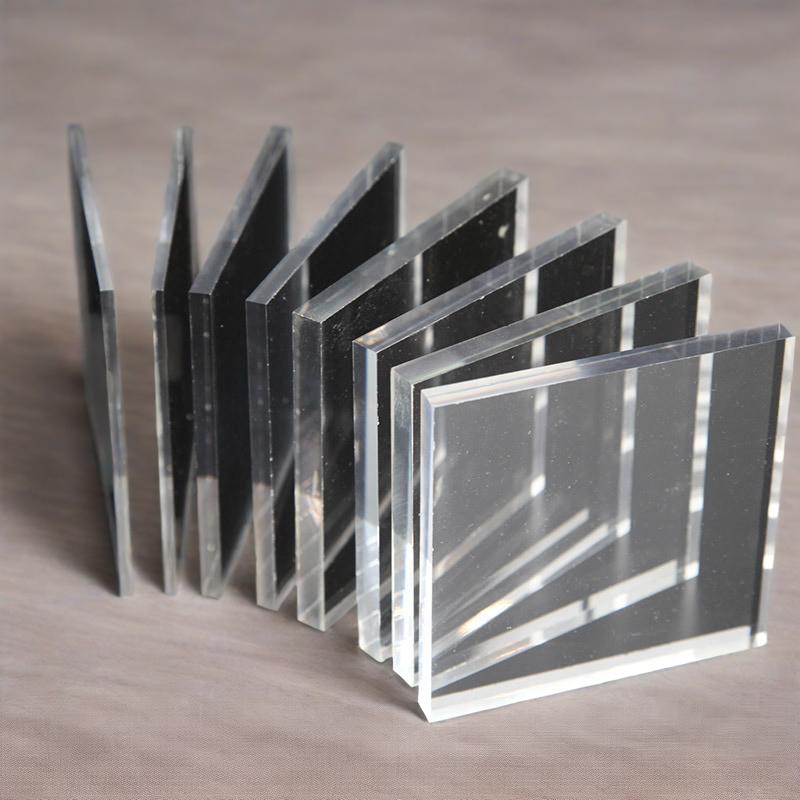
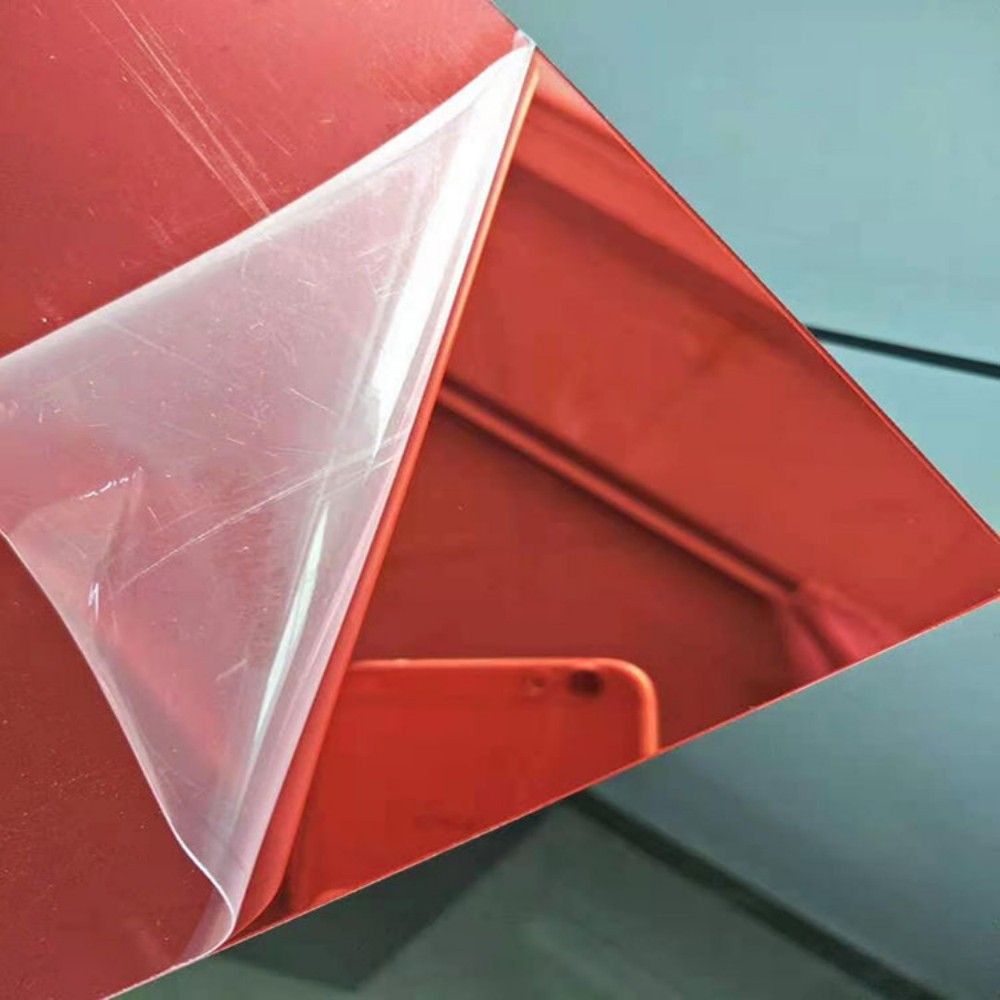
2. Panel Inspection: A flawless surface is the cornerstone of adhesion.
Minor defects can lead to bond failure. Research by the Plastics Industry Association (PLASTICS) indicates that a surface energy >40 dynes/cm is the critical value for achieving ideal adhesion, while dust or grease can drop this value to below 30.
- Light Transmission Inspection: Observe the panel at an angle under strong light to remove panels containing bubbles, impurities, or internal stress cracks.
- Cleaning Standards: Use isopropyl alcohol (IPA) and a lint-free cloth (such as a microfiber cloth) to clean in a “single-direction” manner to avoid secondary contamination.
3. Glue Science: Choosing the Right “Molecular Bridge” for Your Needs
| Glue Type | Core Ingredients | Application Scenarios | Curing Principle |
|---|---|---|---|
| Solvent-Based Glue | Methylene Chloride/Ethyl Acetate | Large-Area Surface Splicing | Dissolving the Surface Layer → Molecular Entanglement |
| UV-Curing Glue | Acrylate Monomer | Precision Parts/Rapid Production | UV-Initiated Polymerization |
| Structural Adhesive | Modified Epoxy/Polyurethane | High-Load Structural Parts | Chemical Cross-Linking Reaction |
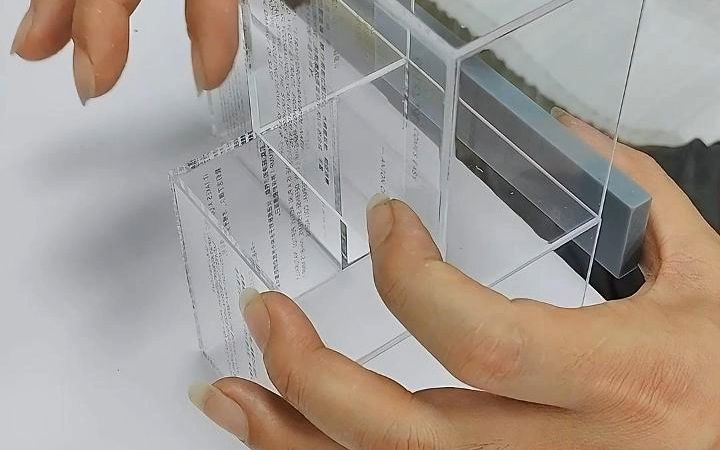
4. Precision Gluing: The Art of Capillary Phenomenon and Gap Control
- Needle Selection: Use a precision dispensing needle with an aperture of 0.3mm-0.6mm to ensure a glue line width of ≤0.5mm.
- Utilizing Capillary Action: For tightly joined surfaces, glue will automatically wick through the gap—in this case, only one side should be applied; excessive application will result in overflow. Clamp Pressure: Apply 0.1-0.3 MPa (e.g., F-clamp) to maintain a stable joint gap within the optimal range of 0.05-0.1 mm.
5. Cure Control: Precise Management of Time and Environment
- Temperature and Humidity Effects: For every 10°C increase in temperature, the cure rate of solvent-based adhesives increases by a factor of two (Arrhenius Law). Recommended environment: 23±2°C, 50±5% humidity.
- Pressure Maintenance: Maintain pressure until the initial cure is complete (usually 30-90 minutes) to prevent molecular chain shifting before bonding.
6. Post-Processing: From Strong to Perfect
- Overflow Treatment: Within 48 hours after curing, gently remove excess adhesive using a dedicated acrylic scraper (e.g., a Swann-Morton 10A blade) at an angle of less than 30°. Advanced Polishing: For optical-grade surfaces, a three-step polishing process is used:
- 600# water-reinforced sandpaper for scratch removal → 2. Diamond abrasive paste (3μm) for fine grinding → 3. Flame polishing for instant flatness (requires professional operation).
Zusammenfassung
Acrylic bonding is a skill that integrates materials science, fluid dynamics, and precision engineering. From strict safety precautions (VOCs control), dust-free surface preparation (surface energy >40 dynes/cm2); precisely matching adhesive types (solvent/UV/structural adhesive), precise capillary application (glue line ≤ 0.5mm); scientific curing under controlled temperature and humidity (23°C/50% humidity), und professional post-processing (three-step polishing)**—each step requires meticulous execution. By mastering these six core principles, you can break through the dilemma of “not sticking, leaving white marks, and easy to crack”, and achieve a seamless combination of industrial strength and artistic beauty, so that acrylic works can truly stand the test of time and sight.
FAQ
Q1: What safety gear is essential for acrylic bonding?
A: Wear nitrile gloves, ANSI goggles, and organic vapor respirator in ventilated areas.
Q2: How to prepare acrylic surfaces before bonding?
A: Clean with IPA using lint-free cloths; ensure surface energy >40 dynes/cm.
Q3: Which glue is best for heavy-load acrylic structures?
A: Use structural adhesives (epoxy/polyurethane) for high-stress applications.
Q4: Why does my acrylic bond develop bubbles?
A: Caused by dust contamination, uneven pressure, or insufficient curing time.
Q5: How long does acrylic adhesive take to fully cure?
A: 24hrs for 80% strength; 7 days for 100% cure at 23°C/50% humidity.